
I'm definitely not an expert about how it works, but I'll try my best to explain the process.
First, the roll of film has to be transferred from the canister into a tank so that it can be developed. The film is extremely sensitive to light, so this has to be done in complete, pitch darkness. You have to open the canister, remove the film, roll it onto a reel and place it into a tank before securely closing it.
If the tank is properly closed, it can be taken out into the light and the film won't be harmed.
Next the film has to be developed (aka it has to be made safe to expose to light). This is done by pouring certain chemicals into the tank and agitating it for a certain amount of time. The time varies depending on what type of film you're developing, the temperature of the water, and several other factors. After development, the film is washed, squee-geed and dried. At this point the negatives you choose can be taken into a darkroom to be printed.

This part may be confusing if you don't know what enlargers are (essentially this is what they look like). They're an instrument that projects the negative at almost any size you may desire.
The darkroom is dark except for a special safe light.
You project the image onto a frame/paper-holder (I don't know what it's called) first to make sure the size is right and the enlarger's lens if focused correctly on the grains of the image.
Basically, the way a print is made is by exposing this enlarged image onto photo paper. The paper is sensitive to light besides the safe light, so the exposed image will become a print once put into the developer, stop, and fix.
Then you can make a test strip - cut a piece of photo paper and expose parts of it in 3 second increments (ie cover most of it, set the timer for 3 seconds, expose it, move the cardboard covering it over a bit, repeat). Once you're done, you place the photo paper into a tub of developer for a certain amount of time, followed by a tub of stop, and finally a tub of fix. At this point you can rinse it in running water and take it outside the darkroom to view.
The test strip will show you how long you'll need to expose the entire print. So next, you take an entire sheet of photo paper and set the timer to the time you decided on, then expose and develop it, and then check to see if the time has to be adjusted. Once you have a print you're satisfied with, it can be washed and dried.
That's about the gist of it, but there are also filters (for low or high contrast photos) and dodging/burning (adding less or more time to certain parts of the print that are over/under exposed), as well as mounting, etc. It's a lot to explain here, but I hope this somewhat helped.
And if this made little or no sense, I don't blame you - it's a complicated process to explain, especially by a complete novice like me, and it's best to learn by experiencing it.
by Kinga
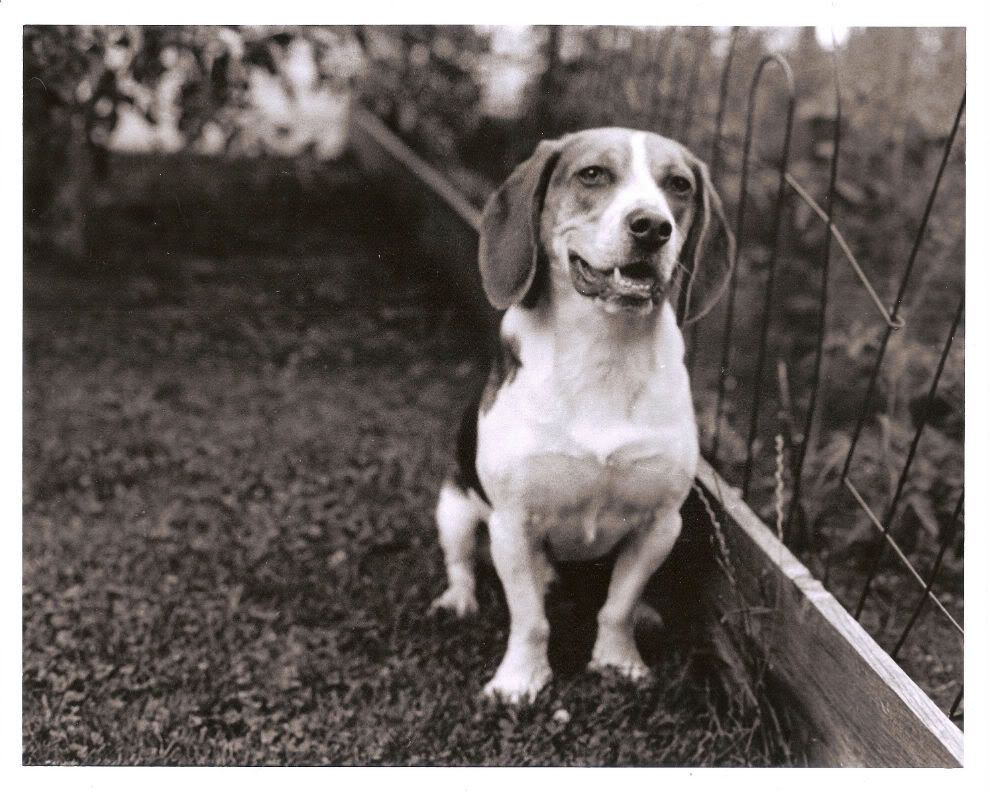
You are seriously awesome for knowing all this stuff. And that picture of your dog - so cute!
ReplyDelete